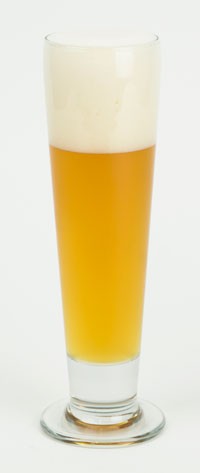
America’s most popular beer style is pale, clean, and thirst-quenching. Ours uses European malt and hops for a superior light lager, but stays true to style featuring crisp drinkability, with just a hint of malt and hops.
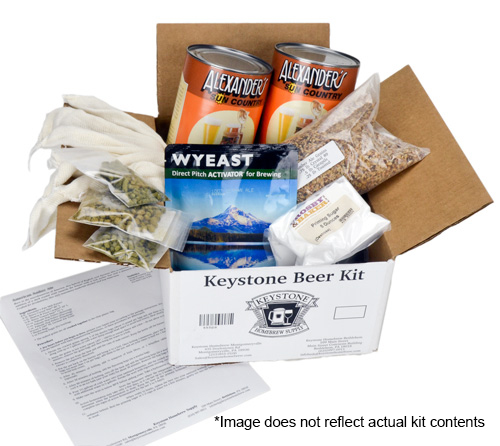
Our kits provide a tried-and-true recipe, ingredients, and brief directions for making 5 gallons of great beer. No mashing is required with our specialty grain extract kits.